

A beading friend of mine tried to get me interested in silver clay shortly after it became available on the market. She swore that I would love it. At that time I didn't want to get involved in something other than beadwork, but a year or two later I got pushed into trying it.
My DH was looking through my class choices for Bead & Button Show and asked me why I had chosen the classes that I had. He suggested that I take something that I knew absolutely nothing about. I went through the catalog again and decided on silver clay. I signed up for several silver clay classes, starting with 3-dimensional forms taught by Celie Fago, and by the end of my classes I was hooked. When I went back to Milwaukee the next year, I took more classes and arranged for PMC Certification. I got my certification Level 1 in the next month and then my ACS cross-certification the following. I was up and running. I am only going to show a few of my pieces here because I'm not that thrilled with what I've made up to this point - I know I can keep improving :-)
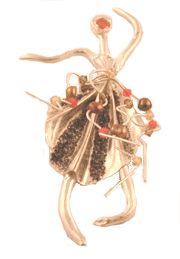
2005, Brooch
PMC Paper, PMC+, Sterling Silver, Orange Garnet, Swarovski Crystals & Freshwater
Pearls
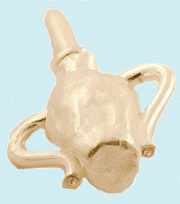
2005, Hollow Vessel
PMC+, Swarovski Crystals (two at bottom of handles, one on top of removable
stopper)
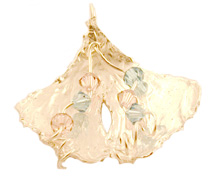
2005, Paste Overlay Project
Overlay Paste, Sterling Silver Wire, Swarovski Crystals
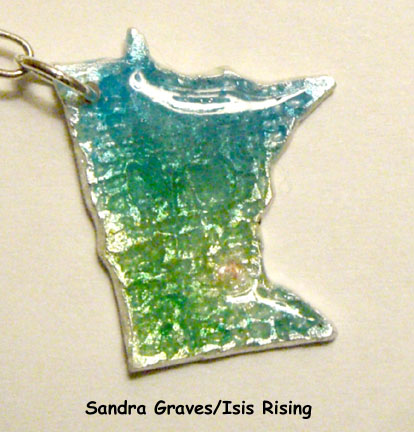
"Minnesota Charm"
PMC Conference, Purdue, Indiana, July 2008
This was the first metal clay conference that I ever attended
and I was VERY nervous. I knew
that I wouldn't know very many people and I was staying on my own in the campus
hotel. I am
a lot more shy than people generally think (I put on a good act) and I wanted to
leave a
good impression. So I made 20 charms to swap. I cut out a template
of the outline of my
state (Minnesota) in copper sheet and cut out silver clay. I textured it,
put the corner hole into
the dried clay and drilled a small divot for the CZ in my city. After the
silver fired, I fired front
and back color-blended enamel for the forests and waters of my state and with my
signature
logo and date on the back, drilled a divot for a 2mm CZ and glued in the CZ.
I loved my
charms and got a lot of very positive comments from people I truly respect who
received them.
Then Bill Struve came out with his Bronz Clay formulation. I love bronze clay! I received my first 30 gram packet of the clay at the PMC conference in 2008 in Purdue, Indiana. Before the end of the week, I had already fired small pieces in aquarium carbon in small stainless steel vessels and tried to enamel them. Even though they don't enamel, they are so wonderfully golden and so incredibly sturdy. I fell in love and I still love this material.
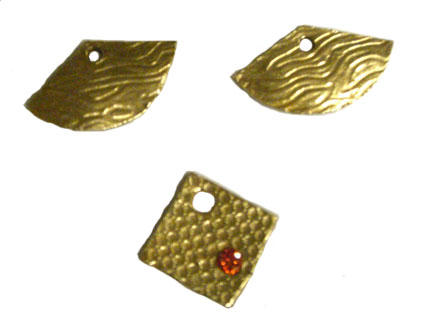
2008 Bronze Clay
Orange Garnet
These were among the first items that I made from that original 30 grams of Bronz Clay. I loved the durability of the fired objects and the warm, golden color. I know that many people love the earthiness and the various patinas that they can get on the Bronz Clay, but I love the golden shine that it has. I then tried to enamel on the earrings with the following result:
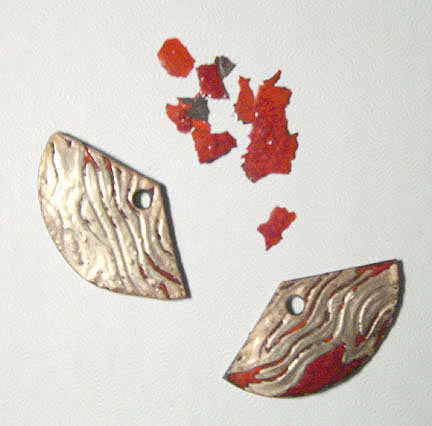
2008 Bronz Clay and Lead-Free Enamel
As you can tell, the enamel just didn't play nicely with the Bronz Clay.
But here are some items that I was happy with.
2008, Bronz Clay
Bronz Clay, Coral Agate, Ruby, Copper
fired and fabricated
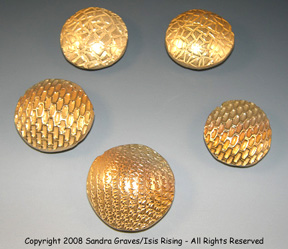
Bronz Clay, hollow
these got a nice patina that lived through brushing and tumbling
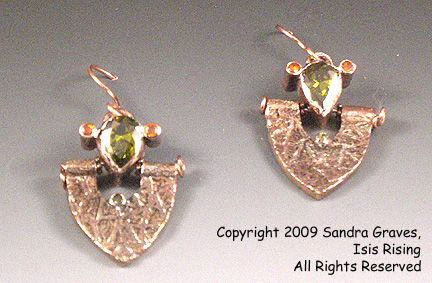
Peridot, Orange Garnet, Bronz Clay, Copper
These movable swinging earrings feature a pear-shaped peridot pointing towards a
smaller tube-set peridot with
orange garnets to each side. The Bronz Clay was slightly darkened with
Liver of Sulpher.
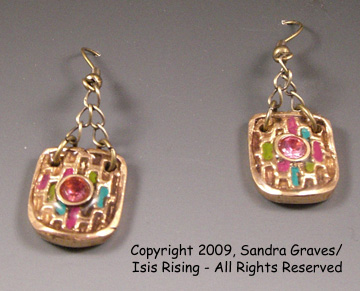
Bronz Clay, Pink Turmaline, Acrylic Paint, Resin Enamel
And then came Copper Clay. I have had little chance to
play with it yet, (at least with things that I feel are worth
sharing with others on my website) but I did make an enameled copper clay
charm for the Metal Clay World conference in July. I'll put that picture
up within a month or so along with
the other charms that I received in exchange at the conference. And I
suspect I'll have some time to play
with some clay mid-October for a day and then again after the New Year (yes - my
life tends to be WAY too busy).
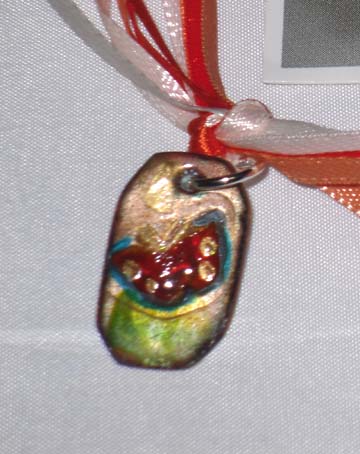
"Copper Clay and Enamel Charm - Follow Your Dreams"
Copper Clay, Glass Enamels and Pebeo paints
MCWC, July 2009
I wanted to do the entire image in painted enamels, but I've
been having difficulty getting the
glass enamels to fuse well when I paint and fire them and I didn't want to do
cloissone. I had
four hours to produce these, so I fired the fronts and backs and then used Pebeo
paints for the
butterfly and my signature logo and date on the back. I baked the charms
and they were ready
to be attached to my cards with color coordinated ribbons. I had hoped for
almost 50 charms but
because of difficulties with enamel blow-outs, etc., I ended up with 36. I
was still quite happy
with these though.